

Then I shaped the new piece and glued it on. I piled stuff on top to hold it in place until it dries. I also glued the strip to the body.


Then I painted the window parts with rust reformer. I had soaked them over night in vinegar to help take some rust off.

Once they dried I installed them back onto the clips in the panel. The tops are held with a screw but the front one had no screw hole???


After that I formed the new channel around the glass, applied glue to the car and set it in place. Once that was in I worked the glass back in. This was harder than expected. You have to just put the back in the slot then work the front into the new felt channel. You may have to bend it a little until the glass is in. Once in you can bend it back. Once it is in, you work the front down. If it binds it means you have the back edge too far down. I will take some back and forth but you will get it. After it is in place you can line up the mechanism and put the 4 screws back in to hold the glass to it. Then wind the glass up to help hold the felt tight until the glue dries. You may have to work your felt shape a little if it gets bent form installing the glass. This stuff kinks easily on tight bends so be gentle.


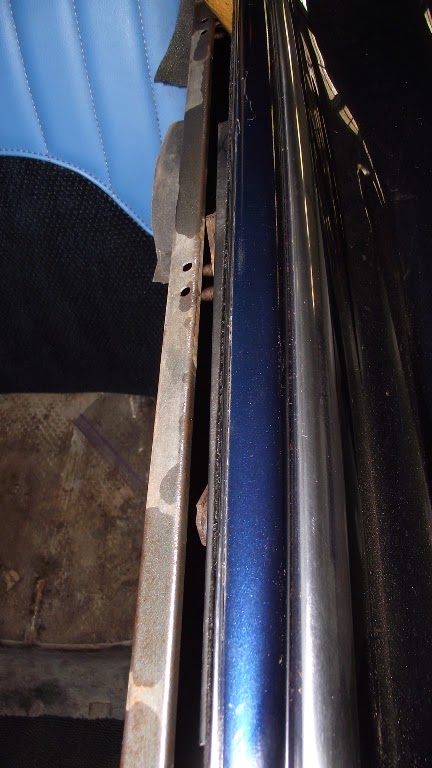
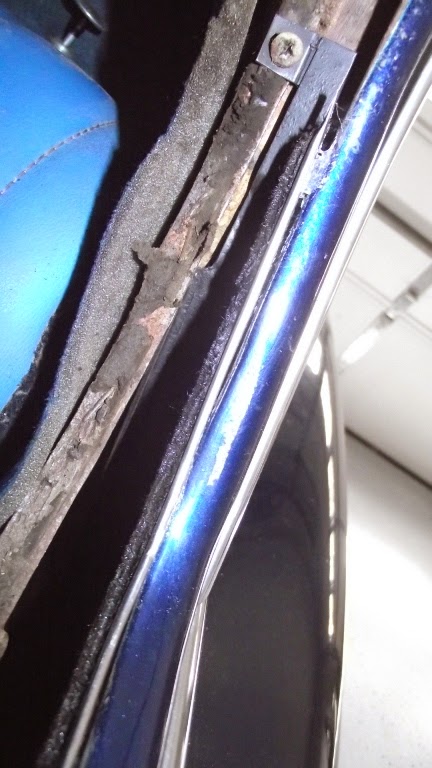
While stuff was drying I put the new rubber seal on the front door divider bar and glued on the new channel. The original one had two short pieces. I saw no need to cut the one sent into two separate pieces or shorten the part hanging out the end. If this is an issue later I will edit this post.


I still need to install the inner painted trim and the outer stainless trim to the divider bar, then it will be complete.
No comments:
Post a Comment